Daniel Photography – Post Processing Workflow Vol 3: From Start to Finish
This post was published 5 years ago. Download links are most likely obsolete. If that's the case, try asking the uploader to re-upload.
2hrs+ | Video: .MP4, 1920x1160, 30 fps(r) | Audio: AAC, 48000 Hz, 2ch | 754 MB
Genre: eLearning | Language: English
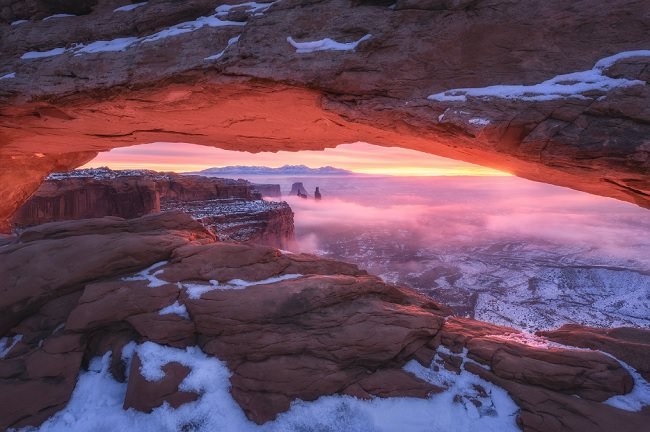
In this Video I show you my entire post processing workflow from start to finish. Step by step I will guide you through my techniques based on the picture “The Burning Window”. I will also cover how you organize your workflow. The goal is to be non destructive so you can always readjust your images later. This picture is one of my favourites and thats one of the reasons why I chose it to demonstrate you my workflow. The techniques are advanced so first expierences with masks and a basic knowledge about post processing is necessary. The following steps will be covered:
– RAW Adjustments in Adobe Lightroom CC
– Focus stacking to increase depth of field
– Exposure Blending to increase dynamic range
– How I use the orton effect
– Detail enhancement
– Nik Color Efex Pro 4 in the Nik Collection by Google
– Advanced and selective contrast adjustments
– Working with luminosity masks
– Advanced masking techniques
– “Dodge & Burn” techniques
– Color adjustments and color contrast
– Mood enhancement using “light painting”
– Color management
For this turorial I used the programs Adobe Lightroom CC, Adobe Photoshop CC and the Nik Collection by Google.
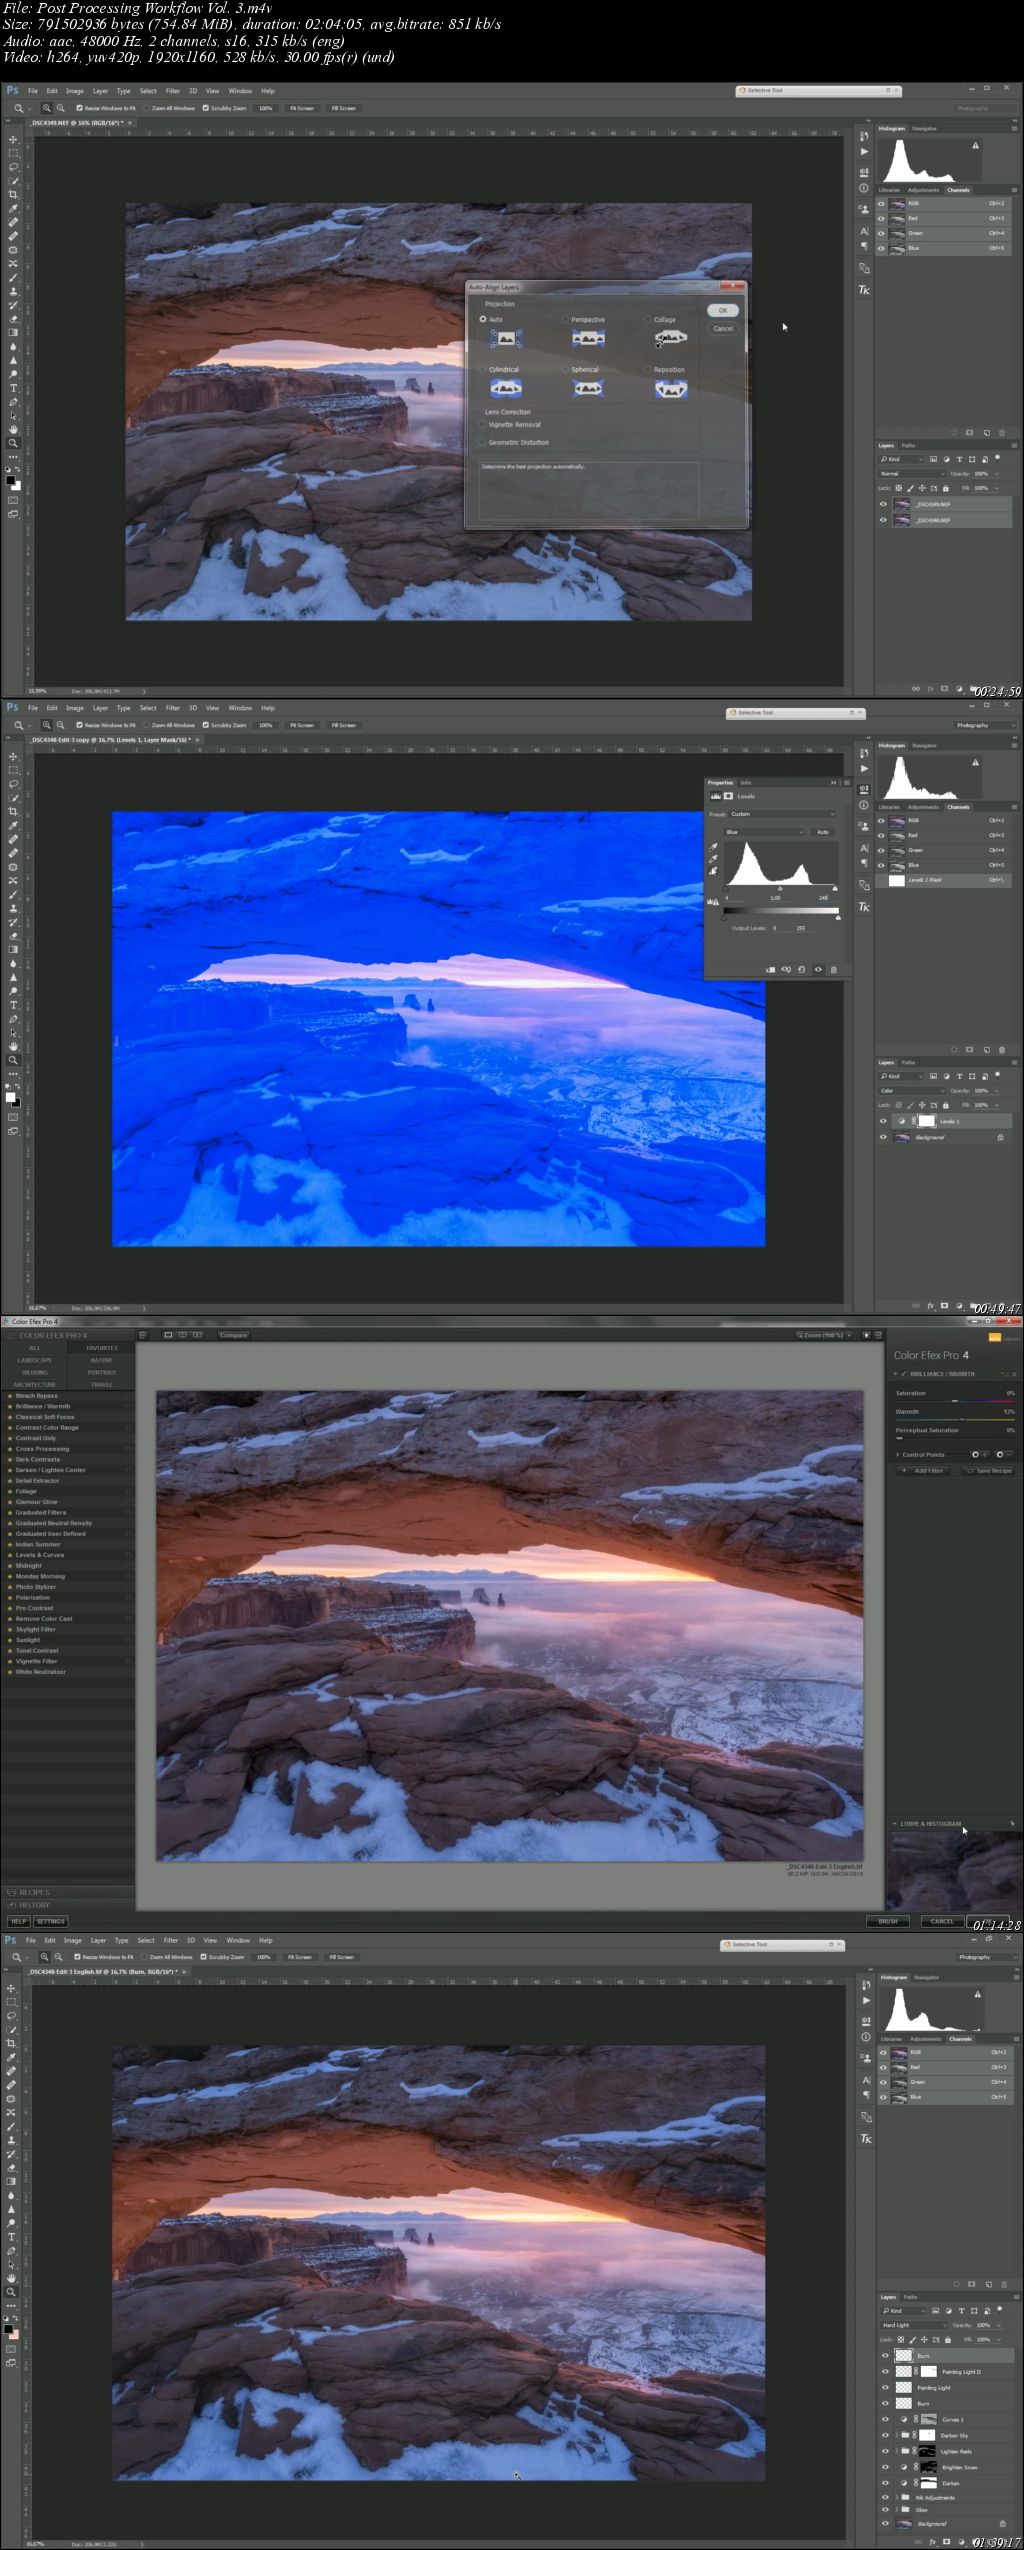
Screenshots
Download from free file storage
Resolve the captcha to access the links!
Registered members don't get captcha ... just sayin