Drawing Skin in Procreate: How to Paint Skin in 5 Steps
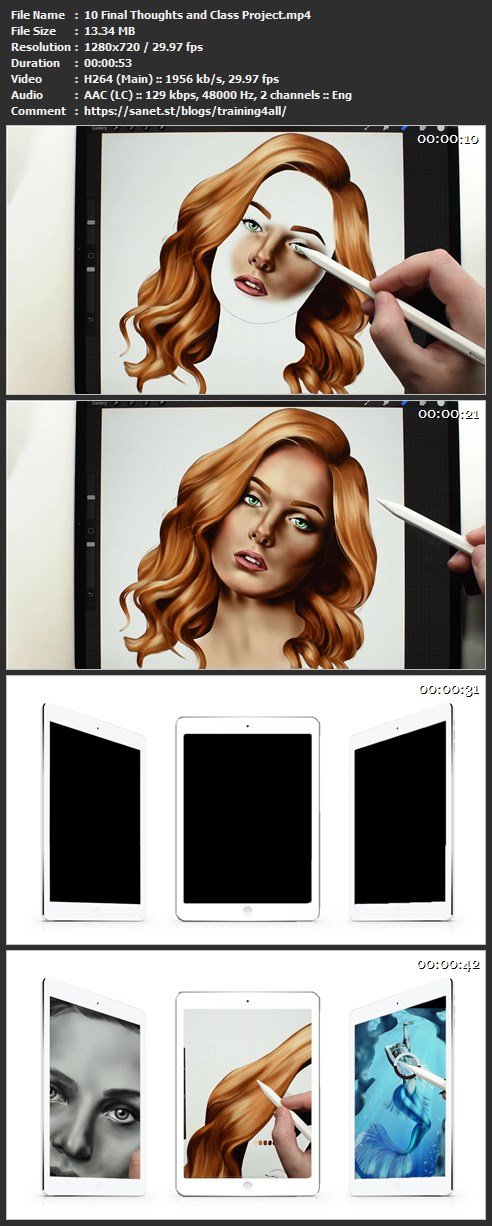
Duration: 23m | Video: .MP4, 1280x720, 30 fps | Audio: AAC, 48 kHz, 2ch | Size: 164 MB
Genre: eLearning | Language: English
If you’re new to Procreate or digital art and want to learn how to paint skin, this class is for you!
In this class you will learn
- A simple way to paint skin in 5 steps
- Basic use of the Multiply and Overlay Blend Modes
- How to apply these steps to your Art Style
In this class we’ll be going over the entire process of painting skin in Procreate, seeing how the different steps can come together, while working in different layers for each.
You’ll be completing a blending exercise and hear the basics of Multiply and Overlay to help prepare your to give a whole character a try. From the basic skin tone to adding the final highlighst, it’s all demonstrated for you to follow along with. The exercise template, reference, and my favorite blending brush is available under resources.
Even if you are using a different drawing software or devise, you can learn from these exercises and methods, as they translate well to e.g. Photoshop and pc.
Although starting my digital art journey in Photoshop, once I got my first taste of Procreate I’ve never looked back. I use layers and blend modes all the time in my work, as I create fantasy portraits and magical settings.
Music from
www.pixabay.com
Homepage
Screenshots
Download from free file storage
Resolve the captcha to access the links!
Registered members don't get captcha ... just sayin